
REMOTE CONTROL AND ACCESS FOR YOUR INDUSTRIAL CODERS
Be constantly connected to your production line by remote access and control of your inkjet coding and laser marking software. Linx PrinterNet enables you to monitor your coders identically to ensure smooth operation and running. Additionally, we can provide you with technical support remotely with ease, minimizing engineer visits and saving costs and time.


FEATURES
Remote access & control
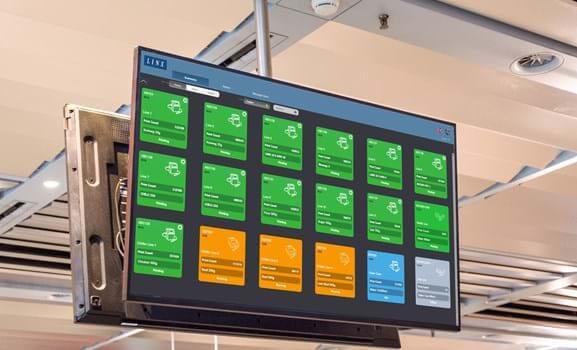
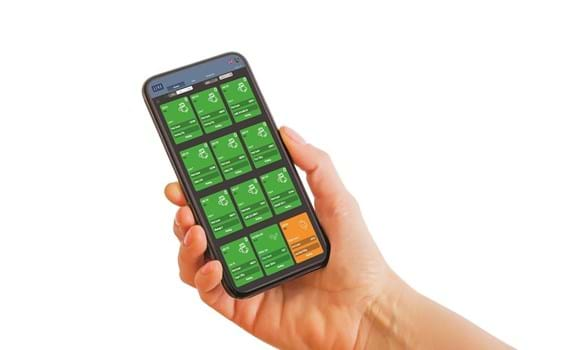
- Access your printer remotely and control your printers using your phone, PC, as well as tablet.
- Always know the status of your Linx printers and what is being printed straightaway.
- Measure the progress of your jobs against your own targets and, by the time, receive alerts if you are off-target.
Be ready for job changeovers.
- Estimate when a production run is due to finish by viewing the print count remotely, enabling fast, efficient job changeovers.
Linx PrinterNet
Always have control
- Have complete control of your printer whenever you need to, from anywhere, with a remote printer connection.
Manage your fluid supply – new to PrinterNet
- Order fluids directly from your PrinterNet dashboard prior to end consumption
- Quick, easy, and mistake-free fluid ordering at the same time
- Repeat the Last Order feature

Proactive printer support for maximum uptime
- Real-time email notifications and fluid alerts inform you identically of any printers needing your attention. Furthermore, it enables faster reaction time and maximizes uptime.
- Receive support from our technical team over the remote network to rectify unplanned issues in time.
- Technical remote diagnosis of printer issues by the time of running production. Indeed, resolution of printer issues by explaining over the phone or logging into your printer.
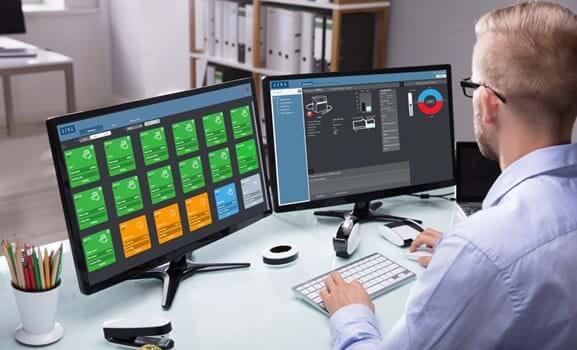
Inkjet Coding Printer Software
Linx PrinterNet software is a powerful tool for designing variable text and barcodes. Furthermore, allows you to communicate with the printer, set the intensity and speed of printing, and monitor your production logs. Also, gives you an overlook of reports from mobile devices and PCs. Here’s an overview of how to use Linx PrinterNet software for inkjet coding and marking:
- Design Variable Text and Barcodes
- In the first place, launch the Linx PrinterNet software on your PC or mobile device.
- Create a new print job or open an existing one consequently.
- Use the built-in design tools to create or modify variable text, barcodes (e.g., QR codes, DataMatrix), graphics, and other elements.
- If required, import variable data from external sources, such as databases or spreadsheets.
- Arrange the elements to achieve the desired layout and appearance at the same time.
- Communicate with the Printer
- Ensure your connection to the Linx inkjet printer falls under the same network as your PC or mobile device.
- Select the appropriate printer from the list of available devices within the Linx PrinterNet software.
- Send the designed print job to the selected printer.
- Set the Intensity and Speed of Printing
- Adjust the print settings within the Linx PrinterNet software, including the print intensity (ink density) and speed (print head movement).
- Configure any other necessary settings, such as the distance between the print head and the substrate.
- Save the updated settings and send them to the printer.
- Monitor Production Logs and Reports
- Linx PrinterNet software allows access to real-time production logs and reports to summarize.
- Analyze data such as the total number of printed items, rejected items, downtime, etc.
- Use the information to optimize your production and identify areas for improvement in the long run.
- Remote Access and Notifications
- Use the Linx PrinterNet software on your mobile or a PC to monitor your printer status.
- Access production logs and reports from anywhere with an internet connection for better visibility and control over your production process.
Laser Marking Software

To use laser marking software for designing QR codes, barcodes, and variable text, and transferring them to a laser marker, follow these steps:
- Design QR Code, Barcode, and Variable Text
- Launch the laser marking software on your PC.
- Create a new print job or open an existing one.
- Use the built-in design tools to create or modify QR codes, barcodes, variable text, graphics, and other elements.
- If required, import variable data from external sources, such as databases or spreadsheets.
- Arrange the elements to achieve the desired layout and appearance.
- Set Laser Intensity and Distance
- The laser marking software adjusts the laser intensity (power) and pulse frequency to achieve the desired marking depth and quality without damaging the product.
- Configure the focal distance between the laser head and the product’s surface to ensure optimal marking results. This may require manual adjustments on the laser head itself or inputting the correct distance in the software.
User-defined Laser Speed and Intensity
- Define Product Material and Dimensions
- Specify the material type (e.g., plastic, metal, glass) and dimensions of the product in the laser marking software. This information helps the software determine the appropriate laser settings for optimal marking results.
- Indicate the desired marking position on the product by defining the X and Y coordinates or using a template to align the design elements with the product’s features.
- Set Speed and Gap of Product Moving on Production Line
- Configure the marking speed (laser head movement) in the software to match the production line’s speed, ensuring consistent and accurate markings on each product.
- Set the gap between products on the production line to ensure the laser has enough time to mark each product without causing delays or overlapping markings.
- Transfer the Design to the Laser Marker
- Ensure your laser marker is connected to the same network as your PC or via a USB or serial connection.
- Send the designed print job and the configured settings to the laser marker.
- Monitor and Adjust as Needed
- Observe the initial markings on the products to ensure they meet the desired quality and appearance.
- Make any necessary adjustments to the laser intensity, distance, speed, or other settings in the software, and resend the updated settings to the laser marker.
By following these steps, you can use laser marking software to design QR codes, barcodes, and variable text and transfer them to a laser marker while ensuring optimal marking results on various product materials and dimensions.